[insert image of TR]
Converting Tamriel Rebuilt v20.02 for Morroblivion v065
Description:
This tutorial will take you step-by-step through the process of using ModExporter to to generate a version of Tamriel Rebuilt that is compatible with Morroblivion v065. ModExporter is a modified version of OpenMW-CS which allows users to load Morrowind ESP-based mods and then export them into a format that is compatible with Morroblivion. It will search for modded mesh/texture asset files and export them to a Morroblivion compatible format as well. Any original Morrowind assets from the retail game will not be exported to Morroblivion. Instead, most of these dependencies will be redirected to an alternative Oblivion or Morroblivion-made asset.
ModExporter does not yet do a 100% perfect conversion of Tamriel Rebuilt. However, many simple fetch quests will work out-of-the-box. More complex quests will need custom script modifications to work in Morroblivion.
Requirements:
- Morrowind GOTY
- Oblivion GOTY
- Tamriel Data 7.1 - https://www.tamriel-rebuilt.org/downloads/resources
- Tamriel Rebuilt 20.02 - https://www.tamriel-rebuilt.org/downloads/main-release
- Morroblivion v065
- OpenMW 0.45 (64-bit) - https://downloads.openmw.org/windows/OpenMW-0.45.0-win64.exe
- ModExporter 2020-June-29 - https://www.mediafire.com/file/1yrdvwn0x5w1qfs/Modexporter-2020-June-29.7z/file
- v065 Mods-for-ModExporter 2020-June-29 - https://www.mediafire.com/file/9km39v6heyy1pkt/Mods-for-Modexporter-2020-June-29.7z/file
- GIMP 2.8.22 (64 bit) - https://download.gimp.org/mirror/pub/gimp/v2.8/windows/gimp-2.8.22-setup.exe
- GIMP DDS plugin (64-bit): - https://storage.googleapis.com/google-code-archive-downloads/v2/code.google.com/gimp-dds/gimp-dds-win64-3.0.1.zip
- GIMP Normalmap plugin (64-bit): - https://storage.googleapis.com/google-code-archive-downloads/v2/code.google.com/gimp-normalmap/gimp-normalmap-win64-1.2.3.zip
- Python 2.6.6 (32 bit) - http://www.python.org/ftp/python/2.6.6/python-2.6.6.msi
- Blender 2.49b (32 bit) - http://download.blender.org/release/Blender2.49b/blender-2.49b-windows.exe
- PyFFi 2.1.11 (32 bit) - https://github.com/niftools/pyffi/releases/download/pyffi-2.1.11/PyFFI-2.1.11.cefd181.win32.exe
- Blender NIF Scripts 2.5.9 - https://github.com/niftools/blender_nif_plugin/releases/download/blender-2.5.9/blender_nif_scripts-2.5.9.77b0815-windows.exe
- v066 Mods-for-ModExporter 2022-Jan-08 - https://drive.google.com/file/d/1B-L7mgaDMovJ4zkqux55BPIQCeIspKkR/view?usp=sharing
Installation and Preparation
Note: This step should take about 10-20 minutes.
1. Install Morrowind GOTY, Tamriel Data and Tamriel Rebuilt. TIP: don't forget to register the BSAs by adding the lines "Archive 2=PT_Data.bsa" and "Archive 3=TR_Data.bsa" to the [Archives] section of the Morrowind.ini file.
2. Install OpenMW 0.45 and import the Morrowind Settings so that OpenMW can use the Tamriel Rebuilt mod. TIP: You MUST use version 0.45 instead of a later version. Install OpenMW to "C:\OpenMW 0.45" instead of the default "Program Files" folder. You can then use this version separately from any other version of OpenMW. If the Import Morrowind Settings wizard does not run, then you should click the "Run Installation Wizard" button on the Settings tab of the OpenMW Launcher. Select your master file, which is the Morrowind.esm found in the "Morrowind\Data Files\" folder.
3. Install Oblivion + Morroblivion v065. TIP: Oblivion should be installed outside of the "Program Files" folder. If you are using the Steam version of Oblivion, then you may have to move the entire Steam installation outside of "Program Files". Make sure you install OBSE properly since it is not a regular Oblivion mod. If you have the Steam version of Oblivion, then you must launch from the Steam Client's "Play" button.
4. Install GIMP files. Install to "C:\GIMP28" instead of the default "Program Files" folder. Install the GIMP plugin EXE files to "C:\GIMP28\lib\gimp\2.0\plug-ins"; this includes "normalmap.exe" and "dds.exe". The Normalmap plugin also contains 3 DLLs: "glew32.dll", "libgdkglext-win32-1.0-0.dll", and "libgtkglext-win32-1.0-0.dll". All 3 DLLs should be moved to the "C:\GIMP28\bin" folder. Make sure you can start GIMP and open a DDS file.
5. Install Blender/PyFFi files. FIRST: Install Python 2.6.6 (32-bit) before anything else. Let it install in "C:\Python26". Then, install Blender 2.49b into "C:\Blender249b". TIP: Make sure you select "Use the installation directory (ie location chosen to install blender.exe)" when asked where you wish to install Blender's user data files. If you chose something else, then you will have to uninstall Blender and start over. Install PyFFi 2.1.11, the installer will automatically detect Python 2.6 and Blender folders. The installation folder for the PyFFi files is not important but you could install it into "C:\PyFFI2111" just to be consistent with previous steps. Finally, install the Blender NIF Scripts, again, the install will automatically detect the blender folder.
6. Install ModExporter 2020-June-29. Extract the contents of the ModExporter 7zip archive into the OpenMW root folder.
7. Configure Installation and Destination folders. Run the "start modexporter.bat" file. The first time it is run, you will see the message "Creating "settings.bat" file...". When you see the message "Press any key to continue . . .", close the window by pressing the "X" in the upper right corner. Now find the "settings.bat" file, and right-click and select Edit. Modify PYTHONEXE line to point to where you installed Python 2.6.6 ("C:\Python26\python.exe"). Modify GIMPEXE line to where you installed GIMP 2.8.22 ("C:\GIMP28\bin\gimp-console-2.8.exe"). Modify the BLENDEREXE line to where you installed Blender 2.49b ("C:\Blender249b\blender.exe"). If you have at least 10 GB of disk space on your C: drive, then you can leave the MODEXPORTER_OUTPUTROOT line alone and it will place the Resources generated by ModExporter in "C:\Oblivion.output". If you would like to use another hard drive, then you can change the drive letter from "C:" to something else like "D:". The "Oblivion.output" will be automatically added on and is hardcoded into the scripts. You can not change it.
Now open the Morroblivion.ini file in the "C:\OpenMW 0.45" folder. Change the Morrowind line to point to your installation folder for Morrowind. Make sure you put the "\" at the end of the folder name. The Oblivion line is actually the destination folder for output files and not the actual game folder. This needs to exactly be the drive letter you chose in the settings.bat file plus the string "\Oblivion.output\", example: "C:\Oblivion.output\" or "D:\Oblivion.output\". If you try to name it something else then you will break the Mesh processing stage.
Now create the destination folder that you specified in the above step: "C:\Oblivion.output\". Within this folder, create another folder named "Data". If these folders already exist, then make sure they are completely empty.
You are now ready to generate the game files to play Tamriel Rebuilt in Morroblivion v065.
Building the ESPs (10-20 minutes):
Note: Approximately 10-20 minutes.
0. Make sure all other programs such as games, web-browsers, etc. are all closed. ModExporter requires a LOT of resources and will use all available CPU cores.
1. Run the "start modexporter.bat" file. It will display the folder paths to wherever you configured the settings.bat file in the step above. Now press any key and it will start the ModExporter executable to generate the Morroblivion-compatible ESP files.
2. When the OpenMW-CS window appears, select "Edit A Content File". Then select Morrowind.esm from the drop down menu. Put a checkmark next to the Tamriel_Data.esm file. Click Open. Once the "Tamriel_Data.omwaddon" window appears, select File->Export ESM from the menu bar. Navigate to the "C:\Oblivion.output\Data\" folder or wherever you specified the output destination. The saved filename should be "Tamriel_Data.esp". Click Save. Wait for the export process to complete. You should see the message "[Tamriel Data] EXPORT COMPLETED!" in the console window. Do NOT close any windows yet.
3. Select File->Open from the menu bar. Select "Morrowind.esm" from the drop-down and then put a checkmark next to TR_Mainland.esm. Click Open. Wait for the "TR_Mainland.omwaddon" window to load. TIP: Close the "Tamriel_Data.omwaddon" window while you are waiting for the "TR_Mainland.omwaddon" to load, in order to free up memory and avoid confusion. Do NOT close the console window, or you will abort the entire ModExporter process.) When the "TR_Mainland.omwaddon" window appears, select "File->Export ESM from its menu bar. Navigate to "C:\Oblivion.output\Data" and click Save. Wait for the export process to complete. You should see the message "[TR_Mainland] EXPORT COMPLETED!". Do not close any windows yet.
4. Select File->Open from the menu bar. Select "Morrowind.esm" from the drop-down, and put a checkmark next to "TR_Preview.esp". Wait for the "TR_Preview.omwaddon" window to load. Close the "TR_Mainland.omwaddon" window while you are waiting. When the "TR_Preview.omwaddon" window appears, select Export-ESM from the menu bar. Navigate to "C:\Oblivion.output\Data" and click Save. Wait for the message "[TR_Preview] EXPORT COMPLETED!". Then close the "TR_Preview.omwaddon" window.
Integrated Above
Building the Mesh and Texture Resources (2-4 hours):
Note: This step has been integrated into the above process of building the ESPs.
1. The ModExporter console window will now show the message "Press any key to start Texture conversion and processing." Press any key to begin the GIMP processing stage. Multiple threads will be spawned to process all the texture files in parallel. One thread for each logical CPU core. There will be many DEBUG messages displayed. They may be hard to read since each thread is writing messages simultaneously to the console window. Each texture file will be checked for proper DDS formatting and converted if necessary. If Normalmaps exist, they will be processed for Oblivion engine compatibility. If Normalmaps don't exist, then a new normalmap will be generated based on the original texture. Wait until you see the message "Jobs Completed".
2. Press any key to start Mesh conversion and processing. This stage will also spawn separate threads for each logical CPU core. This stage will first try to convert meshes using the original NIFConverter (NIF_conv.exe) tool. If this fails, then it will fallback to using the slower but more compatible blender-python conversion system. After the mesh is converted with either NIFConverter or Blender-Python, it will then be automatically post-processed using the PyFFi NIFOptimize scripts. Wait until you see the message "Jobs Completed". You can then press any key to close the ModExporter console window.
Packaging and Installing Mod:
1. Select the 3 ESPs: "Tamriel_Data.esp", "TR_Mainland.esp" and "TR_Preview.esp" and package them into a single 7zip file and name it Tamriel_Rebuilt_ESP.7z. Install it using a mod manager into Oblivion.
2. Select the "Textures" and "Meshes" folders and package them into a single 7zip file and name it "Tamriel_Rebuilt_Resources.7z". Install it using a mod manager into Oblivion.
3. Install the Mods-for-ModExporter archive using a mod manager into Oblivion.
4. Using a mod manager, move the "Morrowind_Compatibility_Layer.esp" above all the Tamriel Rebuilt generated ESPs. Then move "Tamriel_Data.esp" directly below that. Then move "TR_Mainland.esp" directly below "Tamriel_Data.esp". Then move "TR_Preview.esp" directly below "TR_Mainland.esp". Now move TR2002_Facelift.esp below the previous files. TR_MapMarkers_And_Transport.esp can actually go anywhere, but you might as well move it below Facelift for easier organization.
5. Generate Distant Lands and Distant Objects using TES4LL and TES4LODGen.
6. Install a Tamriel Rebuilt worldmap mod. Move the worldmap mod to the bottom of the load order.
You are now done. Go ahead and launch Morroblivion to enjoy the extended worldspace of Tamriel Rebuilt! More mods to enable missing quests and dialogs will be coming in the future.

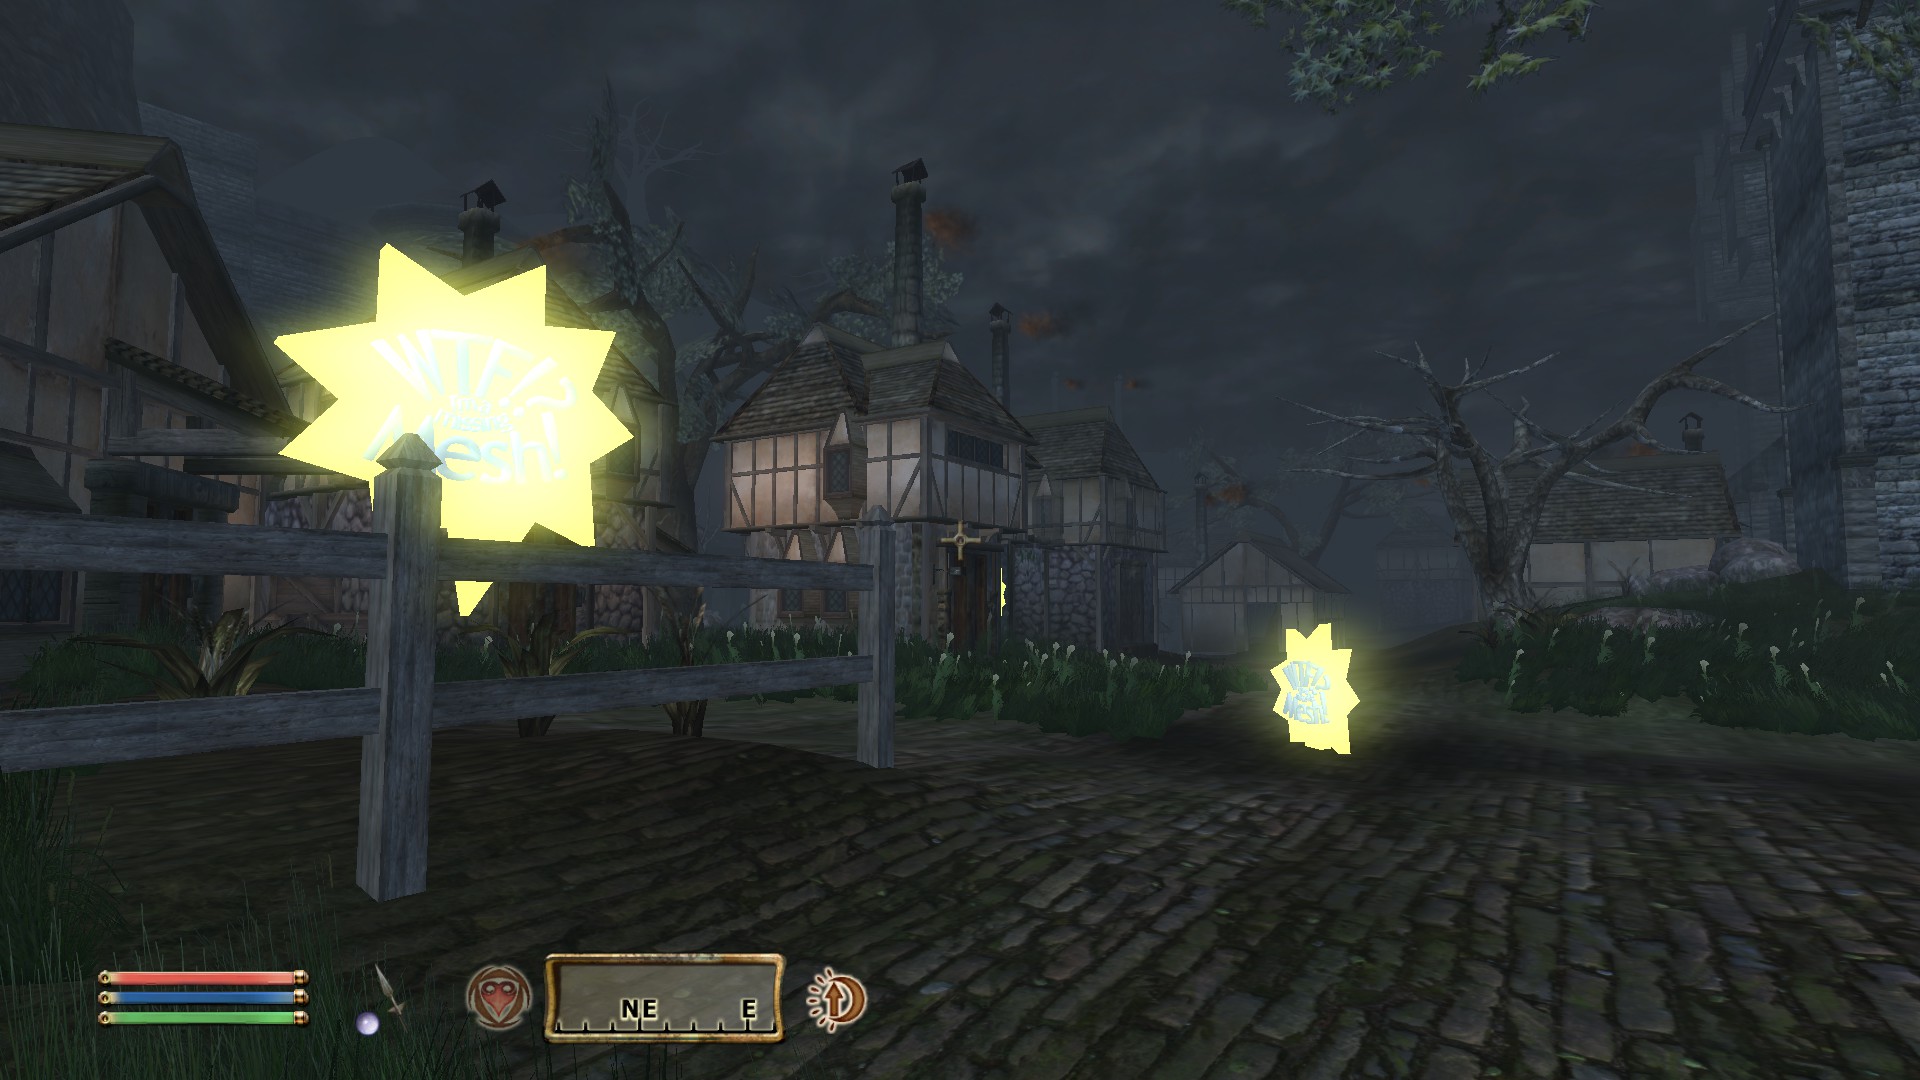

 Here are some missing Mesh Screenshots, I specifically picked Images with missing Meshes, but some areas don't have any meshes missing. How do know if my current area is from Mainland or Preview?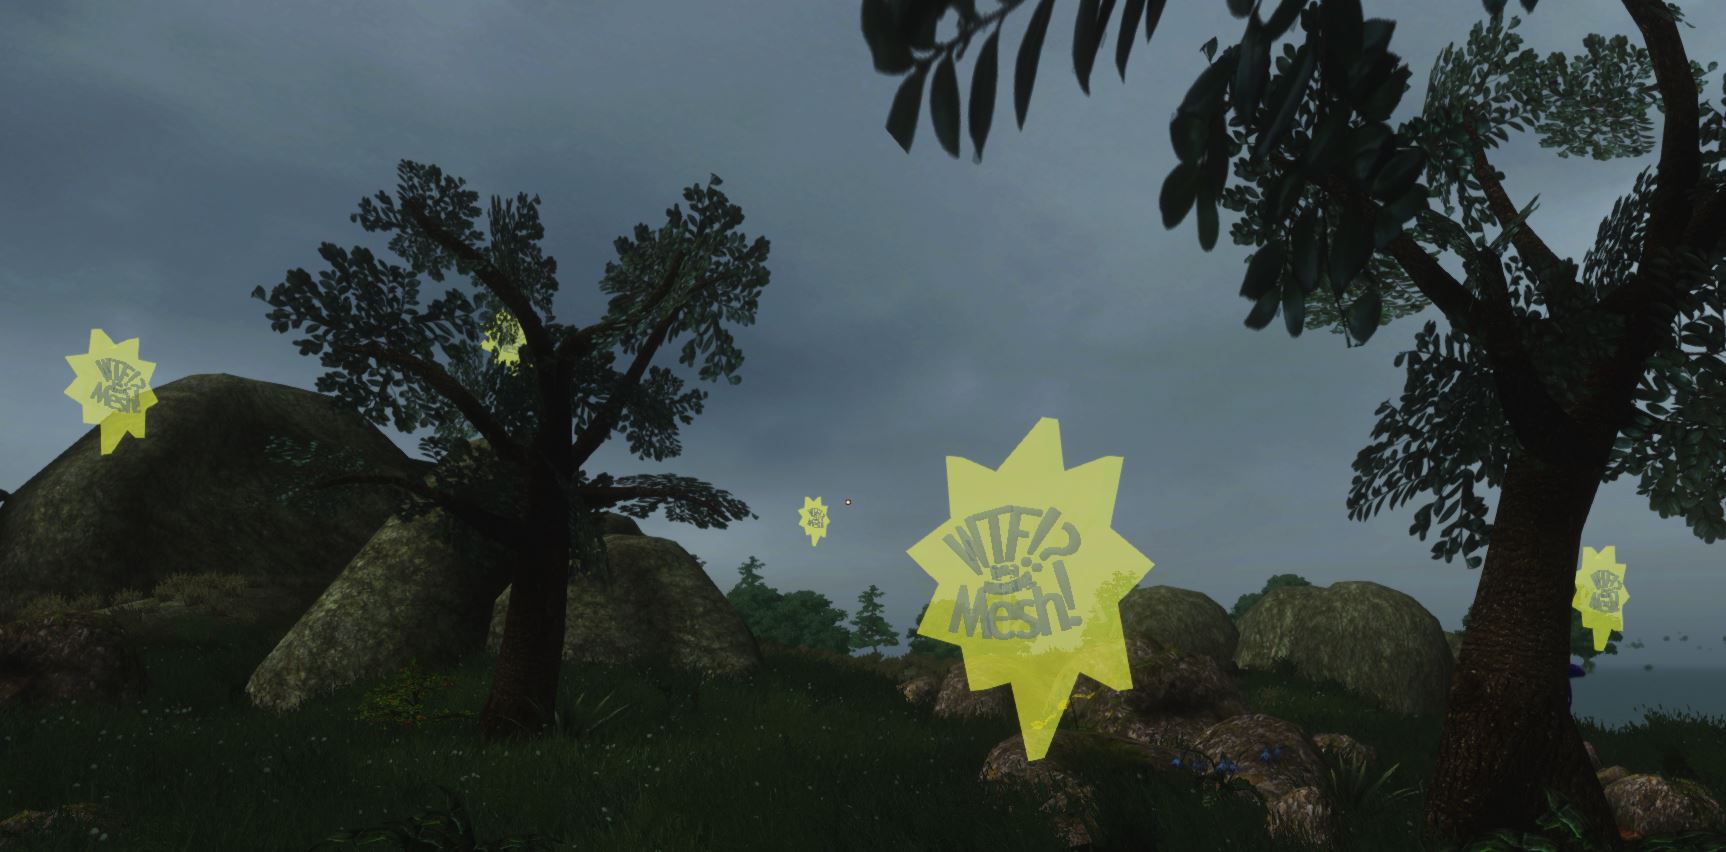


![[External image]](https://media.tenor.com/images/53588fe8fed5c034f42d79e4b36fc4ba/tenor.png)
Frequently Asked Questions:
Frequently Asked Questions:
1. Do I need to convert the Tamriel Rebuilt v20.02 Hotfix?
No. The hotfix currently does not make any functional changes for the final modexporter output. In the future, I will try to develop some of my own hotfixes specifically for the Morrobilvion-based conversion.
2. What about the TR_Factions and TR_Travels ESP files?
They are currently not supported. The "TR_MapMarkers_And_Transport.esp" file from Mods-for-Modexporter will provide fast-travel markers that are accessible from the start of the game.
3. How do I improve the framerate in OldEbonheart?
Try reducing the Actor, Item, and Object slider settings in the Video Options menu. If you use Oblivion Reloaded, these settings will automatically be changed by that mod's framerate manager, so you just need to set a desired target framerate.